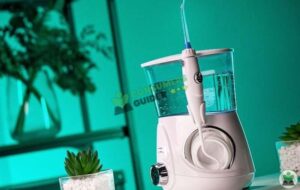
Water flossers are the best alternative to traditional flossing; more efficient and convenient. Not everyone knows about the importance of a water flosser as most of them know about string floss.
But..! We are here to guide you in detail about each and everything related to the water flossers. Whether you are new to these flossers or have limited knowledge about such, we have got you covered.
So, let’s start from the basics.
What is a Water Flosser?
You might have seen an oral device if you have been to the dentist in which he/she uses a pressurized stream of water to clean your teeth. Yes! That is a water flosser.
An advanced flosser which uses a pressurized stream water (one can adjust the pressure as per needs) to clean food debris and plaque is a water flosser.
Is Water Flosser Better Than Floss?
A lot of people get confused when choosing one between both. No doubt string floss cleans the food debris between the teeth quite smoothly but it can lead to gum bleeding and that’s not the case with water flossers.
For detailed information, let us compare both of them.
Water Flosser Vs. Floss
When it comes to a string flosser (traditional flosser), a user requires more attention and care to handle it for usage. When cleaning the tight spaces between teeth and gums with a string flosser, it will affect the gum’s sensitivity in the long run.
On the other hand, water flosser prevents the gums and teeth from getting damaged and reduces the chances of periodontal diseases. Unlike string floss, a water flosser can remove the plaque.
So, overall, opting for a water flosser is a better option as compared to traditional flossing.
Nowadays, water flossing has replaced traditional flossing due to its efficiency, convenience and effectiveness.
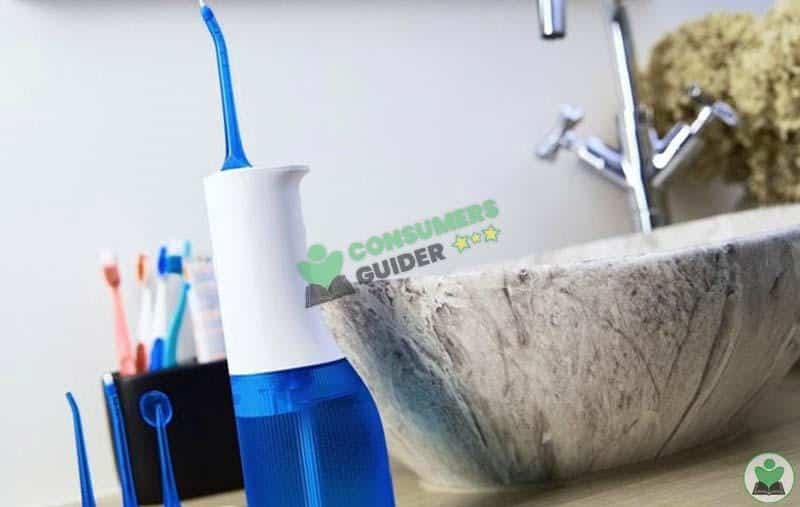
How Does a Water Flosser Work?
An oral irrigator or water flosser has a simple working mechanism. Once you are comfortable using it on a daily basis, then it is the easiest tool to use. The main mechanism on which a water flosser works is the “water pressure and pulsations”.
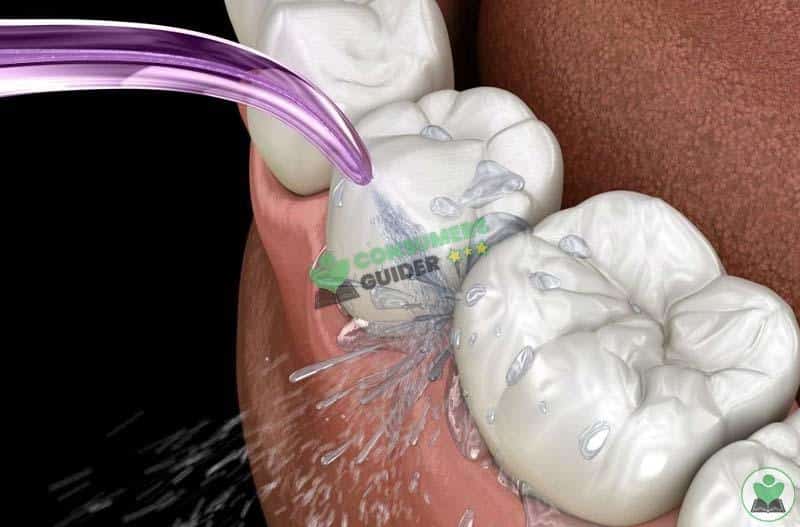
The stream of pressurized water when you turn it On and direct towards the gum line removes the food debris and plaque. It is due to water pressure and pulsations which a traditional flosser lacks.
How to Charge a Water Flosser?
Just like any other electric appliance, water flossers are charged by connecting them to any power outlet via USB cable or respective charger. On an average, it takes 4 to 5 hours to charge completely.
4 to 5 hours of charging (fully charged) is enough to use a water flosser for a whole week. It would be best to charge the flosser overnight.
How to use it?
If you are a beginner you must be thinking how to use it for the first time despite having an instruction manual. Right? Here is the quick and easiest guide to follow when using a water flosser for the first time.
Here are the steps to follow;
- Detach the water container from the machine and rinse it with warm water thoroughly. Fill the tank with warm water.
- Select the nozzle type as per your need. Regular default tip which every water flosser comes with is best for regular use.
- Fix the nozzle securely and then set the pressure settings.
- For regular usage set it to the setting 3 to 4. For sensitive gums, we would recommend you to opt for setting 2 or low setting (depending upon the type of instructions the model has).
- Then place the tip near the gum line (don’t touch it) and turn On the machine. Follow the gum line and then move towards the teeth in a round direction.
- After using it, clean it and dry it.
You can follow our complete guide on using a water flosser properly with pictures here.
And now, in order to guide you about the cleaning process, let’s have a detailed look into it.
How to Clean it?
So, after you are done flossing thoroughly, the next step is to remove the tip by ejecting it and clean it. Here are the steps to follow when cleaning a water flosser.
1. Cleaning the outer unit
Cleaning the unit from outside is necessary only if you use the water flosser not quite often. If the outer side is dusty or dirty then clean it with a cloth.
2. Cleaning water tank
There are two types of cleaning (regular and deep). Regular cleaning of the water tank includes rinsing it with warm water and then air drying it. This method is best to use daily after using the flosser.
Deep cleansing includes addition of vinegar in the water (addition of two tablespoons of vinegar in 16 ounces of water) and then run this solution in the water flosser (this way the internal parts of the water flosser will also be cleaned) until it’s finished. This method should be applied once a month.
For portable ones, after removing the tip, place the flosser in a glass filled with water and vinegar. Place it in it for 2-3 minutes and then make sure to dry it.
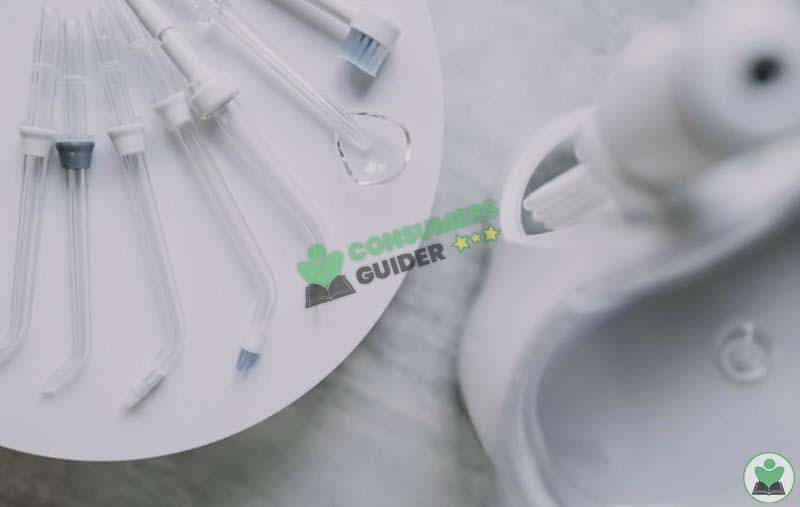
3. Clean the nozzles
The nozzles you have removed from the flosser need to be cleaned now. Place the nozzles inside a jar/glass filled with water and white vinegar. Add a small amount of hydrogen peroxide (a pinch).
Soak and rinse the tips in it for 5 minutes and then dry them.
How Often Should One Clean a Water Flosser?
If you are using the water flosser regularly with utmost care then it needs to be properly cleaned (vinegar method) once every two months in order to have optimal performance.
Light cleaning with warm water and drying afterwards is recommended after every usage.
Can a Water Flosser Damage Gums and Teeth?
NO! As per the research and our testing, water flossers don’t harm gums and teeth. In fact, water flossers are less harmful than string floss.
Furthermore, the researches have proved that water flosser can lessen the risk of bleeding gums which a lot of users face when flossing with a string.
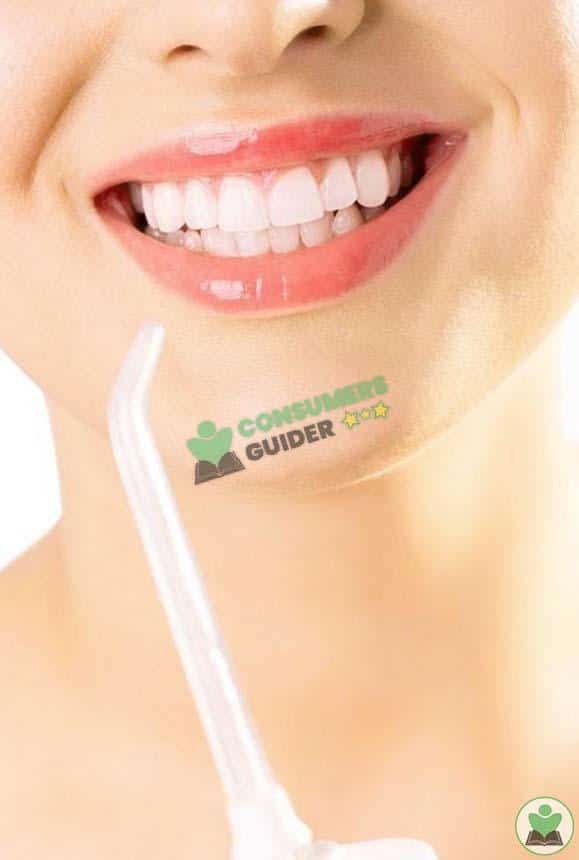
Also, water flossers don’t hurt you even when using high pressurized water.
Can a Water Flosser Remove Tonsil Stone?
Tonsil stones are small hardened lumps which are present beside the tonsil. In most cases, such stones are made up from bacterial growth (when not taken care of oral health). Water flossers play an important role in removing such stones.
In order to remove tonsil stones, direct the pressurized water towards the tonsil stone by opening your mouth wide. Also, use lukewarm water to remove such stones and don’t use high pressure.
Other than that, gargling with salty warm water will also help you to remove the tonsil stones.
Can You Share a Water Flosser?
As the water flossers have removable tips so one device would be enough for the whole family. However, if you are someone who has sensitive gums or your gums bleed a lot, then having a separate water flosser would be better.
Furthermore, it is safe to share a water flosser as long as you don’t touch the tip with your gums and teeth while flossing. Majority of the dentist allows you to share the water flosser with the family only if proper care is taken.
Common Water Flosser Problems & their Solutions
Although water flossers are the latest oral technology which have made the people go haywire over a certain period of time, there are some common problems faced by users and we are here to help you to get over them.
Let’s find out the problems and their solutions.
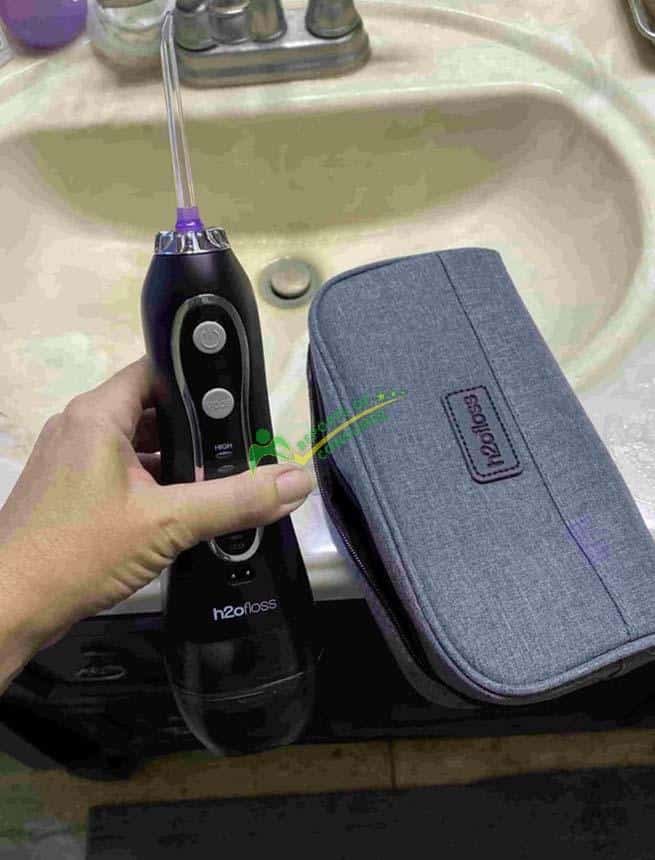
1. Growth of mold in water flosser
Improper cleaning and carelessness of your water flosser sometimes leads to the mold growth in different parts of it without you knowing about it.
However, cleaning it properly on a regular basis after every wash and dry cleaning will prevent the device from getting any mold growth.
Important tips to follow to avoid mold growth
- Don’t keep the water in the reservoir when not in use.
- Don’t place the water flosser in a place where there is limited air-flow.
- Make sure to open the lid of the water flosser after usage so air can flow thoroughly inside the parts of it (pipes etc.)
- Make sure to dry the water flosser after using it and before storing it.
2. Hard Water Deposits
Hard water deposits in the water flosser is the most common problem faced when using a water flosser for months. When the time passes, the minerals present in the water can get accumulated in other parts of the flosser.
There is no way to avoid hard water deposits but you can remove and prevent them. Here are the instructions;
- The pipes and tips of the flosser should be neat and cleaned.
- Make sure the water flosser is placed where there is proper air flow.
3. Leakages
Sometimes the water flosser starts leaking or you might have noticed that your countertop is getting messy, then probably your water flosser has leakages. Look whether the parts of it are properly attached to the handle or not.
Make sure you fix the tips when it makes a click sound. Even after the parts are attached fully, then look for the replacement parts.
4. Minimal Water Flow
If you are using your water flosser for the first time, then you might face the menial water flow. For that, follow these instructions to tackle such situations.
- Fill the water tank to its maximum.
- Set the pressure setting to its maximum (10).
- Turn On the device and direct it towards the wash basin and let the water flow. Then turn it Off and start using according to your needs.
FAQs
Here are some other commonly asked questions regarding water flossers that we have answered.
Is a water flosser good for braces?
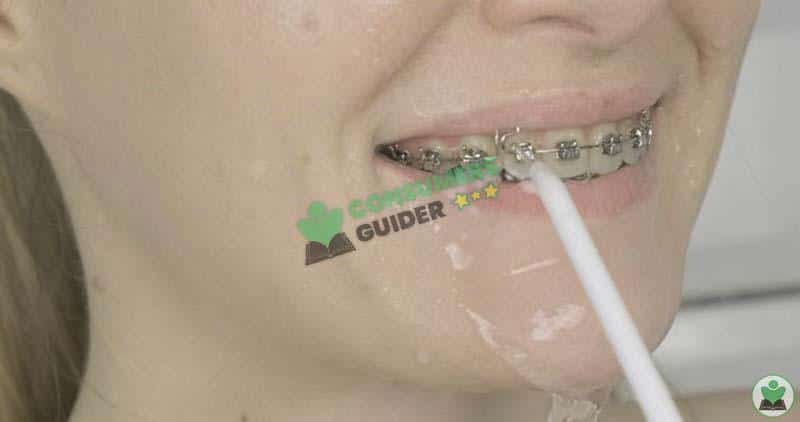
Yes! The orthodontic tip of a water flosser is best for braces. The places where a dental floss or brush can’t reach, a water flosser can easily reach there and remove the plaque and food debris quite efficiently.
Do you use a water flosser before or after brushing?
Well, it depends upon your choice but in our opinion, flossing before brushing is more effective as removal of food and debris prior to brushing enhances the overall oral cleaning.
Can a water flosser remove tartar?
No! The hard tartar on the teeth can only be removed by dentists who use professional dental equipment.
Is a water flosser worth it?
Totally worth it. It can remove plaque and stubborn food debris accumulated around the gums easily and is a great investment.
Wrapping Up
We hope you got detailed information about water flossers and everything related to it. Gone is the time when people used to floss with a string/traditional flosser since water flossers have arrived in the market.
Moreover, make sure to clean the water flosser after every use and dry clean it as well otherwise the quality of the device can deteriorate. However, if you want any information related to this topic, you can ask us.

