Do you know that an ice maker can make you fall sick if you don’t clean it regularly?
Yes! It is true.
Doesn’t matter if you have a countertop ice maker or an undercounter ice maker, it can be a perfect house to mold, slime, and unhealthy bacteria because of its humid and dark insides. And if you let them grow, they can put your health at risk.
In addition to these, with the passage of time, your ice maker can build up the scale (especially if you live in an area with a hard water supply) on it which can cause many other problems. It does not only result in a low quality of ice, it may also risk the life of your ice maker.
So it is very important to clean your Ice maker regularly and in this guide we will cover everything that you need to know regarding its cleaning.
So, let’s dive in.
When to Clean Your Ice Maker?
Regardless of what kind of ice maker you own, portable or undercounter, the experts recommend deep cleaning it every 6 to 9 months, depending on how much you use it.
Some ice makers have an indication button to tell you it needs cleaning.
For others, you can check by yourself.
There are many ways your ice maker is asking for a deep clean. For example:
- Your ice starts to smell.
- It is no more clear and starts to look cloudy.
- Your machine works slowly and the production rate drops.
- The storage capacity (if it is a freezer ice maker) weans.
- Or, if it is really dirty, you can see blatant mold right over it. Not too tempting a sight to behold? huh?
Fortunately, your ice maker’s cleaning process is not a complex one. And our guidelines are going to make it even easier for you.
So, let’s proceed.
Get Your Supplies Ready
You will need a few supplies to clean your ice making machine.
First of all, you are going to get an ice maker machine cleaner. Many brands give recommendations on their preferred cleaning solutions and it is always better to listen to them.
But, if the manufacturer of your machine has not given any brand names you can choose for yourself.
“Essential Values Ice Machine Cleaner” and “Affresh Ice Machine Cleaner” happen to be the most popular solutions by far.
You can use either of them for the best results.
But, if you are an organic geek and hate to use chemicals, we have got you covered!
White vinegar can work just as well as any other cleaning solution. You can also add some baking soda to the vinegar to make it even stronger.
Apart from a cleaning solution, all you need is some
- Warm Water
- Dishwashing Liquid
- A Soft Bristle Brush (a clean toothbrush will work great)
- A Soft Cloth
Time Required: Aprox. 20 Minutes.
Steps to Clean an Ice Maker
Now that you know it is time for a clean up, following these steps can give you the best results for a sparkling clean ice maker.
A soft reminder: Every ice maker is a bit different and so can be the process of its cleaning. Usually, brands give cleaning instructions written in the user manual that comes with the machine. It is always best to read those instructions before you carry on.
Here are some basic steps you can follow for the procedure. These instructions can be applied on an under counter ice maker as well as a countertop or portable ice maker too, whatever you like to call it.
Step 1: Empty Out
You have your cleaning supplies ready. Now it is time to take all the dispatchable things out of your ice maker. It can be the scoop, the storage bin, the ice, and any remaining water.
For discarding the ice you will have to empty out the storage bin but there must be ice in the freezing process. To take that ice off the machine, you can simply plug it out or turn it Off and the ice will drop off in the storage bin in 8 to 10 minutes.
For draining out any leftover water you can take off the drain cap from the water reservoir bucket of your machine and all the water will flow out. Just don’t forget to tighten the cap back on its place or all the cleaning solution you are going to pour will flow out too.
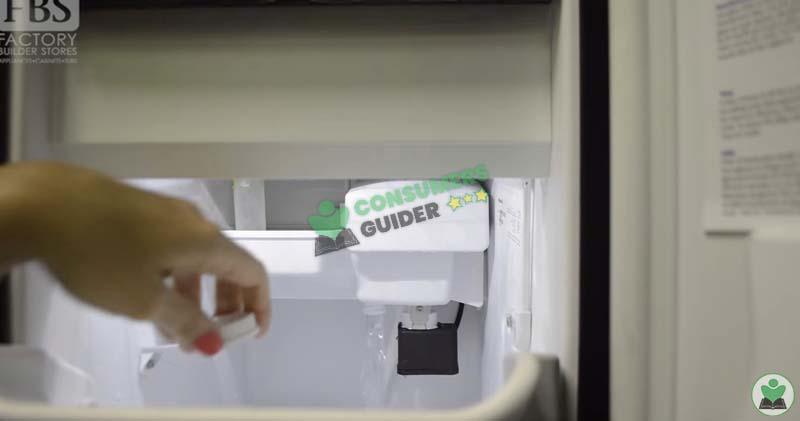
Pro Tip: If your ice maker works as a freezer too, the storage bin can get stuck in it because of the residue of ice. Give it a few extra minutes instead of taking it out by force. You can also use some water to speed up the process but, not in any case, take help of sharp edges or you might break it.
Take the other things to your sink and wash them thoroughly with soap and warm water. Once washed, let them dry on the rack.
Another Pro Tip: DO NOT wash the plastic things in the dishwasher or you will regret it later because, most probably, those things are going to break apart in there.
Step 2: Add Cleaning Solution
After you have cleared the ice from your ice maker, it is time to add the cleaning solution. The quantity of the solution varies from machine to machine, depending on the size of the ice maker. Consult the user manual for the measurements.
If you are using vinegar, it should be used in a 1:1 ratio. That means for every cup of vinegar add a cup of water.
Put the solution in the water reservoir bucket of your ice maker and let it run through the machine.
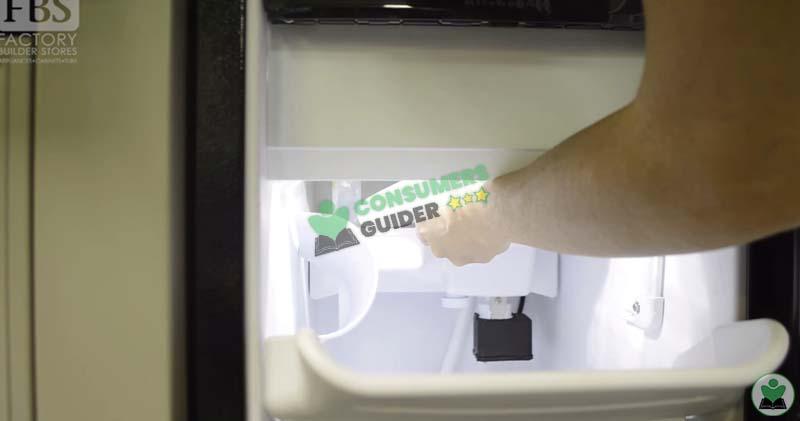
Step 3: Run the Cleaning Cycle
If you are the owner of an automated cleaning ice maker, you can just push a button that says “start cleaning” and the rest will be done by your machine.
The cleaning solution will travel from the water bucket to every part of your machine and everything will be nice and clean. It can take from 30 to 60 minutes depending on the ice maker you have.
But, if your machine is not as efficient as this, you can help it with some manual work.
After adding the cleaning solution to your ice maker, you will have to spray it all over your machine.
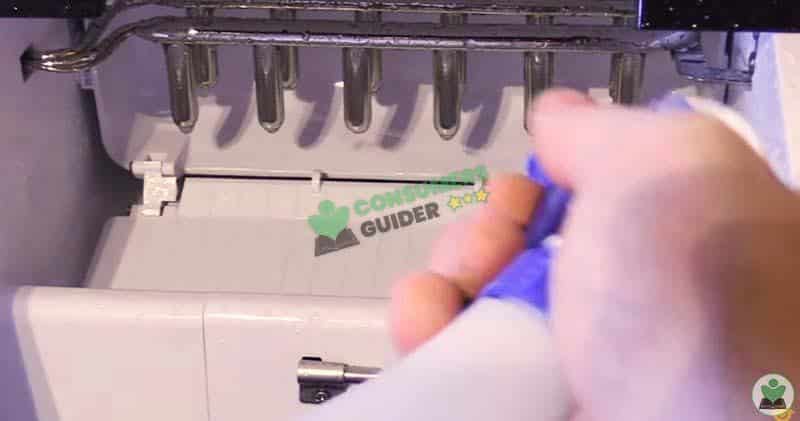
Clean everything with a soft microfiber cloth. You can also take help from a soft silicon brush to get all those difficult-to-reach areas.
Are there any black spots that you can see on the inside of your ice machine? That must be mold growing in its dreamy environment. Rub it clean.
Pro Tip: Using a pair of gloves can be really helpful to save you from harmful to skin chemicals.
After you have rubbed and scrubbed that machine to your heart’s content, start the ice making cycle. Of course, you are not going to use that ice. It is just going to help cleaning and descaling everything. This is exactly what the automated machine is doing too!
Step 4: Discard the Cleaning Solution
After you have run the ice making cycle 3 to 4 times, discard that ice and any leftover solution too.
Drain out the extra water and wash your ice maker thoroughly.
After you have discarded the cleaning solution, you have to run that ice maker again. Add fresh water, let it make ice, and discard the next few batches so that you don’t taste any leftovers of the cleaning solution in your ice.
You may also like to read: Steps to Install an Undercounter Ice Maker
Step 5: Change the Water Filter
Do you have a filter attached to your ice maker? If yes, you need to change that too or it can affect the quality of the ice and also the work of your ice maker.
Step 6: Clean the Exterior
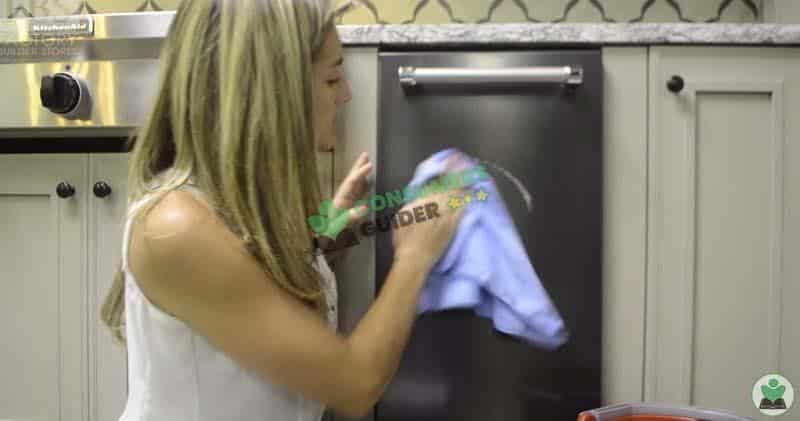
Mix some liquid soap in warm water and clean the outside of your ice maker with a soft cloth. Be sure not to rub it with anything hard or you might scratch it.
Step 7: Turn it On
You have done everything you had to. Take a look at that sparkling clean machine. Doesn’t it look just like a new one? You made it!
Turn it On. Let it run. Sit back and wait until it makes the first batch of sparkling clear ice. Put it in your drink and enjoy!
After all, you have earned it!
Frequently Asked Questions (FAQs)
Can I clean my ice maker with vinegar?
Sure, you can. It works perfectly for cleaning and descaling. And it does not contain any harmful to health chemicals.
Can I use bleach to clean my ice maker?
Household bleach can also be used to clean your ice maker. Just be sure, whatever cleaning solution you use to disinfect your ice maker, it must never be applied directly.
You have to dilute your solution in water first and then apply it by putting it in the water reservoir of the ice maker.
How sanitary are ice machines?
Unfortunately, ice machines can provide the best conditions for mold and bacteria to grow. The inside of the machine is usually dark when it is in working condition and the presence of water makes it humid. And that’s all mold needs to grow.
But of course, you can keep them in a good condition by cleaning them regularly and avoiding any health problems.
Wrapping Up
Like most of the appliances, ice makers are built to bring ease to our lives. But they can make them harder if not used properly. And proper use means regular cleaning in an appropriate way.
FDA (Food and Drugs Administration) considers ice a food so its making must be food grade. Your ice maker needs to be free of mold and all impurities to make a healthy batch of ice. Use our easy steps to keep your ice maker clean and enjoy!

