Trampoline is a great source of jumping your worries away and healthy physical activity for fun.
We know the excitement and rush one has to face on the arrival of the trampoline package.
The rush to start bouncing straight away after you received your parcel. Right?
However, the instructions it comes with are not always fully understandable or sometimes they are not clear.
That’s why we are here today to guide you properly about assembling the trampoline.
There are multiple types of trampolines with respect to size (8ft, 14ft, 15ft).
In this guide we will be assembling the 15ft trampoline which is considered the biggest and complicated one to assemble.
In addition, after going through this guide you would be able to assemble any size of trampoline easily and quickly.
So, let’s dive in…!
Reviewing the Package
Most of the trampoline materials come in two to three packages.
So, on the arrival of your package, unbox it and make sure the package comes with all the materials described in the instruction manual.
Any missing piece can disrupt the whole process so make sure about the whole parts and contact the company if any inconvenience happens.
The materials which should be in a package are;
- Frame legs.
- Mat.
- Springs.
- Hooks.
- Net.
- Poles (for enclosure).
- Round parts( for frame).
- Protective padding.
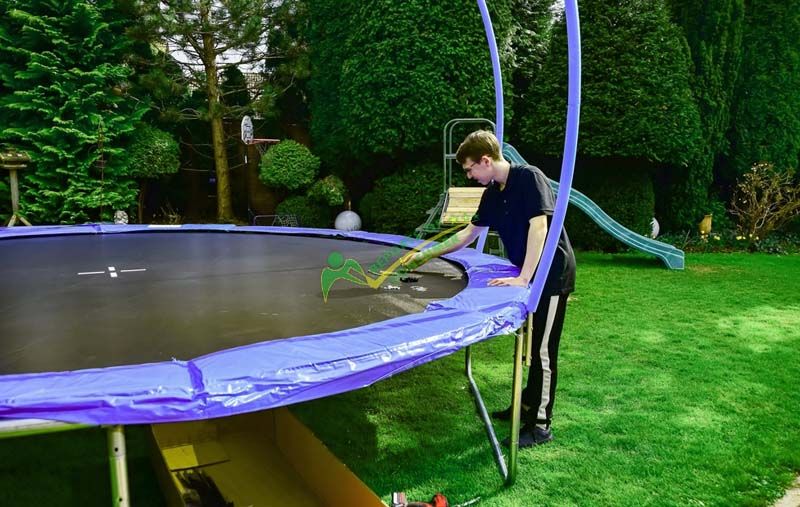
Tools needed for assembling a trampoline
You don’t need many tools in order to assemble a trampoline but certainly need some to screw it tightly.
For that, you need;
- Spring puller (to connect springs with hooks).
- Screwdrivers and spring pull tool (these tools mostly come with the package).
- Rubber mallet (so that it can’t damage the metal parts).
- Power Drill (opt for this one if you are not comfortable with a manual screwdriver).
- Safety gloves.
Also, if you are planning to connect new springs, mats or even planning to get a new trampoline and don’t know about what size to choose from and what type to get, you can check our guide on choosing a trampoline.
And for new things, you can check our guide on measuring a trampoline and various trampoline parts.
How long does it Take to put a Trampoline together?
Well, it depends upon the type of trampoline you are going to assemble.
Once you have decided the place where you are going to assemble the trampoline, the next step is to decide how long it will take to assemble your trampoline together.
Here is a quick guide about the time required with respect to the size of your trampoline.
- 6ft trampoline; maximum 2 hours.
- 8ft trampoline; 2.5 hours maximum.
- 10ft trampoline; 3 hours.
- 12ft trampoline; 3 hours.
- 14ft trampoline; 3 to 4 hours.
- 15 ft trampoline; 3 to 4 hours.
NOTE: If you are an experienced one, the time to assemble the trampoline may vary.
If you are planning to get an affordable/cheap yet reliable trampoline then you can also checkout our Review and Consumer Reports guide on trampolines under $500 here.
How To assemble a Trampoline (Step-by-Step)
We are going to assemble a 15 ft trampoline so one can easily assemble smaller ones.
Follow the same steps for any kind of trampoline.
Step 1: Layout the parts
The first step is to lay out the parts after unboxing the package to make sure each and everything is present before starting to assemble it.
Take some time in order to organize the parts on the ground (or whatever your desired place is) and spread them with respect to their use.
This step will help you organize the parts and make assembling super easy.
Step 2: Assemble the frame
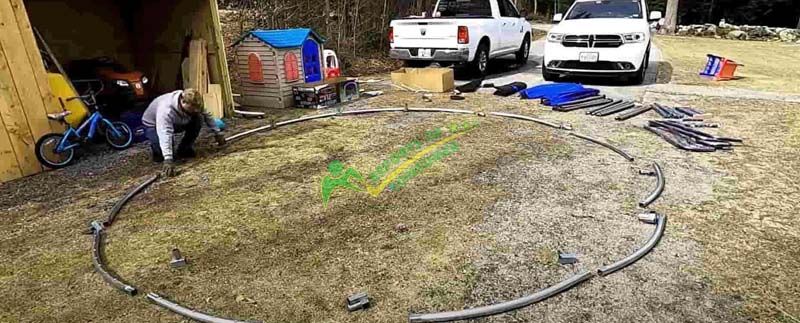
Now the next step is to assemble the frame legs of the trampoline.
For a 6 to 8ft size, the number of frame legs would be around 8 legs and for a 15 ft trampoline, the frame legs would be around 12 to 14 in number.
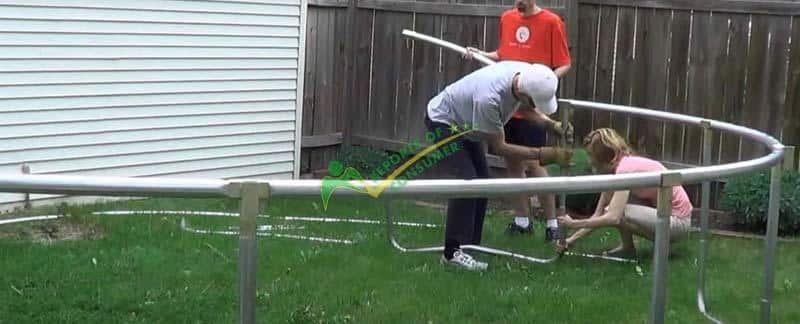
So, the first thing you need to do is to lay out the frame pieces on the ground and arrange the parts in such a way that one end has a square joint and the other one is without a square joint. (you can see in the picture below).
Just make sure that every end is with a square joint alternatively (the square ones are for net assembling which we have mentioned in detail below).
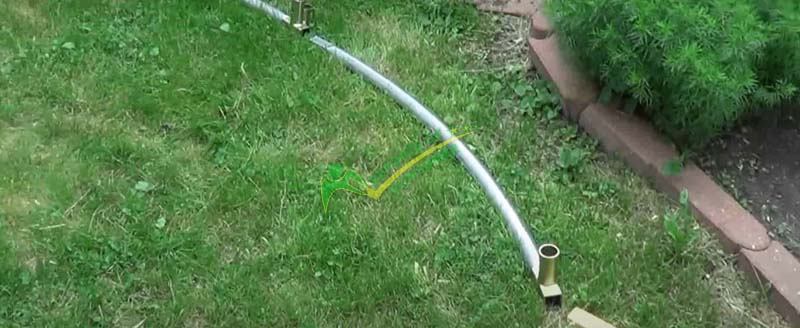
Once you have assembled the ring of the frame the next step is to assemble the legs of it.
Now start putting the poles (legs) in the square joint and make sure the bottom pieces and poles are aligned in such a way that their holes are placed in one place in order to screw them.
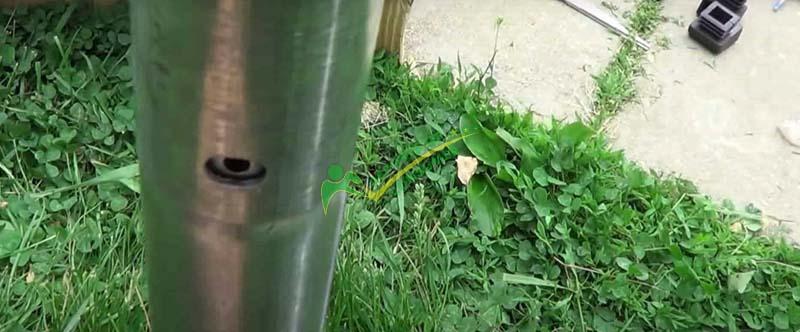
The next step is to screw the legs tightly with bolts with the help of a power drill or manual screwdriver.
Screw all the holes accurately and the frame of the trampoline is properly assembled.
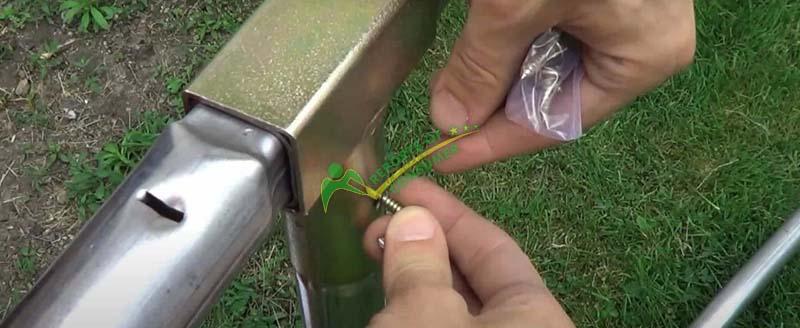
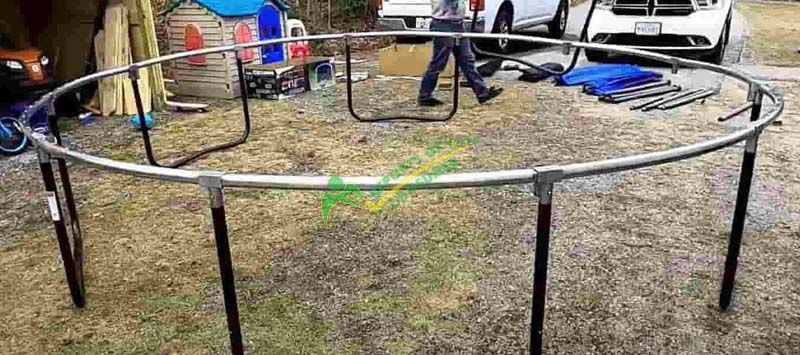
TIP: Make sure the T-joints are tightly screwed before jumping to the next part.
Step 3: Add the Mat to the frame
Now that we have safely and securely assembled the frame, the next part is to add the mat.
The trampoline mat is the main impact area of a trampoline so it is important to check the condition of it.
Check if any hole is present on the material.
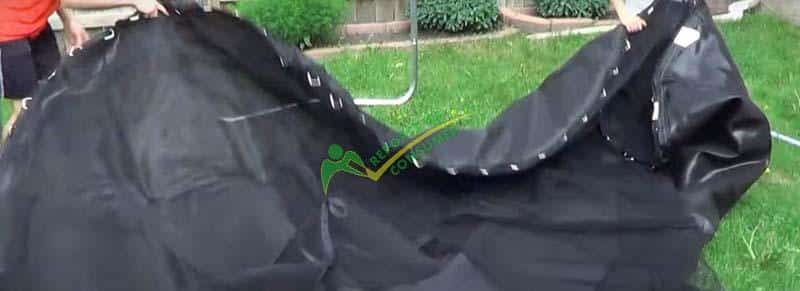
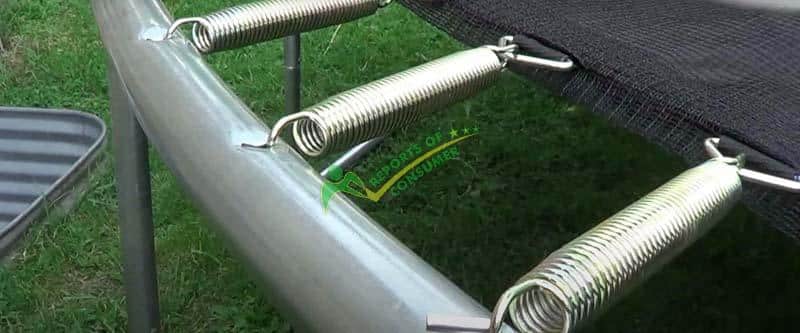
Now start attaching the mat hooks with the springs and fit it in the hole of the poles.
Grab a spring pulling tool (which you can see in the below picture) and stretch the spring with it from the other end and put it in the hole.
If it is a bit rigid, use a rubber mallet and pound the spring into it.
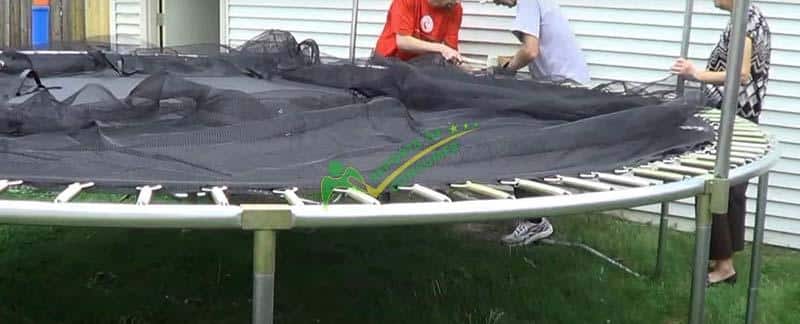
After you are done attaching the springs halfway the mat will get tightened and it would be better if you seek help from your friends and attach the other half accurately.
Step 4: Put the protective pad
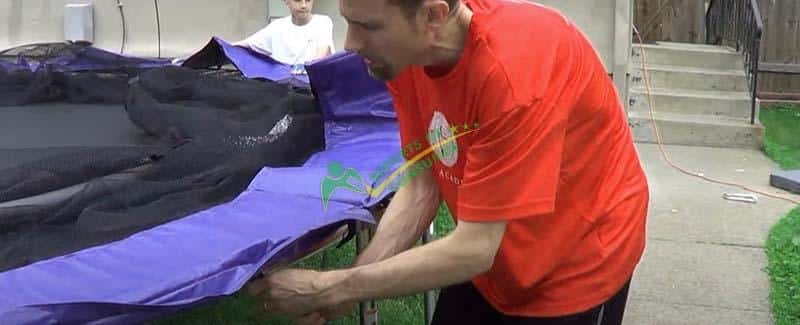
After that, put the protective pad on the springs which act as a cushion and protects you from any harm while jumping on the trampoline.
The protective pads either come with metal hooks or ropes to attach them with the trampoline.
Step 5: Add the Net enclosure
Not every trampoline comes with a net enclosure but you have the option to buy it separately if you are interested.
If your trampoline is around 6 to 8ft, the 3 supporting poles would be enough to attach the net.
For your information, the supporting poles are bent inward.
Assemble them with screws just the way we assembled the legs of the frame and attach the cap at the top of it.
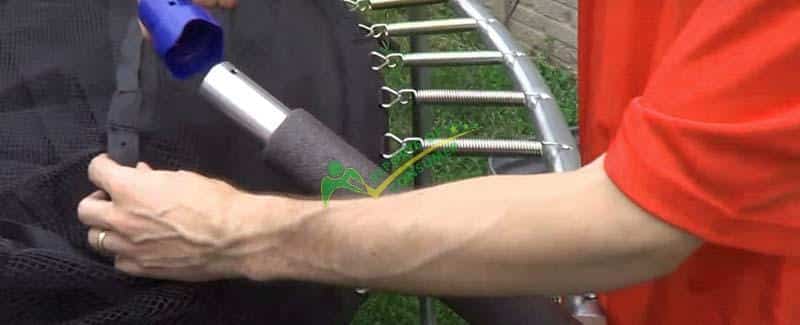
Now secure the net loops with the cap as you can see in the demonstration below.
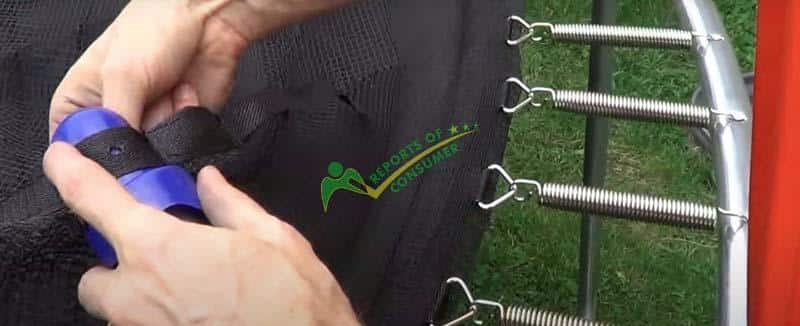
Screw it tight with a bolt and tighten it with a power drill. Now attach the all bungee loops with the caps of the poles (just like shown below)
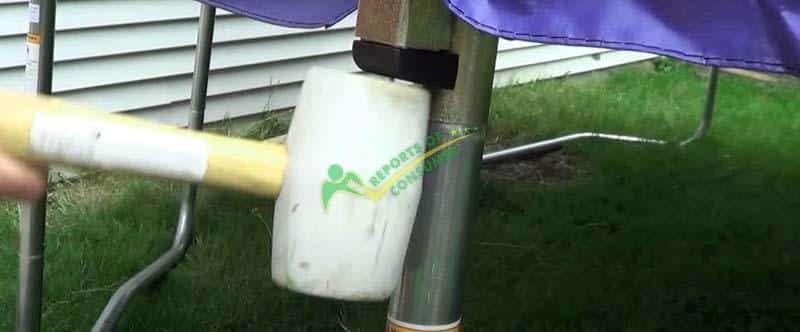
After that, lift the poles and place them in the square joints of the enclosure net.
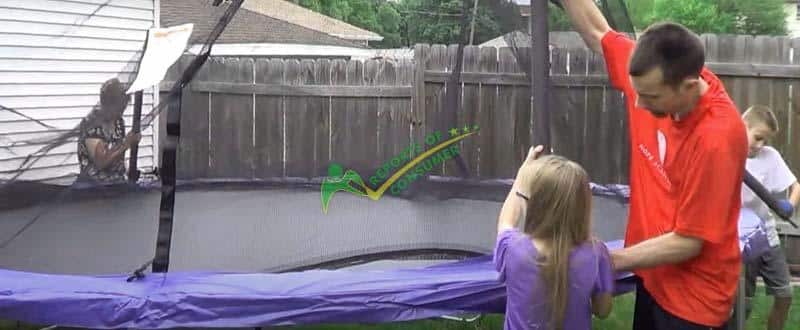
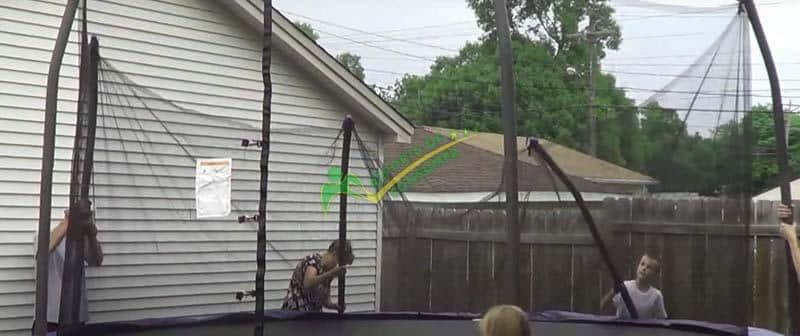
The last step is to secure the net enclosure with caps with the help of rubber mullet and you are done.
Step 7: Add the ladder (optional)
Adding the ladder to the trampoline depends upon your personal choice especially when you have little children.
Most of the trampolines don’t come with a ladder so you have to purchase it separately.
Step 8: Secure it with Anchor kit
The last step in order to assemble the trampoline is to secure it with an Anchor kit.
It allows the trampoline to be secured well in the ground so when you are jumping on it, the trampoline stays at its place firmly.
NOW the trampoline is ready for jumping.
Also, if you are confused about what size and type of trampoline is best suited for your needs, then you can check our detailed guide on choosing the right size and type of a trampoline.
FAQs
Below are some frequently asked question regarding assembling a trampoline.
How much does it cost to install a trampoline?
Well, it depends whether you are going to assemble it by yourself (along with your friends) or going to seek professional help.
On an average, it costs $1200 to $4000 depending upon the level of experience of the professionals.
And, for those who are going to assemble it by themselves, the total cost they would be spending is around $1000 to $3000.
Can you assemble the trampoline by yourself alone?
Yes! You can easily assemble the trampoline (with a little help if assembling a 15ft trampoline) if you are not interested in spending a fortune.
However, assembling a trampoline is super easy and fast.
What are the instructions to follow for assembling a trampoline?
You need to follow the instructions mentioned below (which are explain in this guide)
- Reviewing the parts.
- Assembling the frame.
- Adding mat.
- Addition of the protective pad.
- Net enclosure.
- Securing it tightly to the ground.
Wrapping up
We hope you enjoyed the whole journey of assembling the trampoline with us and we also hope we have made it easier for you to assemble it.
Whether you are going to assemble a 6ft trampoline or a 15 ft trampoline, the main and basic steps are the same for all.
Furthermore, make sure you take the first steps seriously and have enough space outdoors to assemble a trampoline.
For any confusions and queries, you can ask us..!


