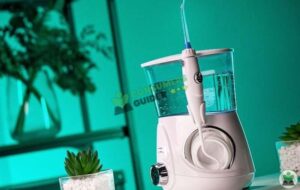
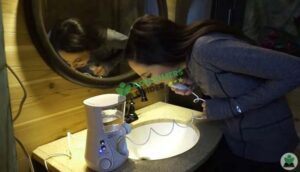
No doubt water flossers (oral irrigators) are the best alternatives of conventional flossing but they are a bit tricky to handle. Flossing daily once a time enhances your oral health specially if you choose a Wwater flosser.
Water flossers use a stream of water to clean the debris present between teeth and gums more efficiently than traditional flossing. However, in this guide, we will explain to you in easy steps how to use a Waterpik Water Flosser.
Before that, there are some important things you need to know about a water flosser which will help you get better care of your teeth and mouth.
So, let’s dive in..!
Can You Use a Water Flosser Instead of Flossing?
Water flosser is a great substitute for brushing and traditional flossing for those who are too lazy to do brushing and flossing in the morning and are always on the go.
Not only that, water flossers are quick to remove plaque and debris from braces as well which a traditional flosser can’t do.
In our opinion, water flossers are a more convenient option when it comes to efficiency and ease. However, to use a water flosser smoothly, below is the detailed guide.
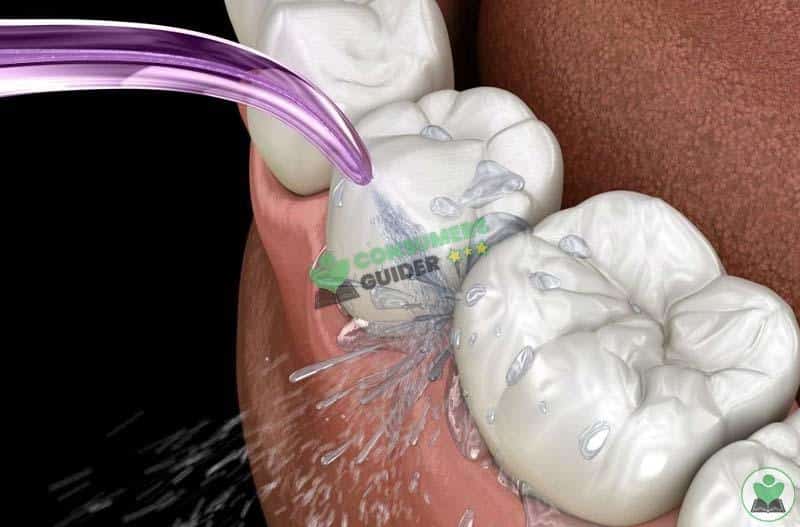
Steps to Use a Water Flosser
To enlighten you, using a good water flosser after brushing your teeth reduces the chance of getting any gum infection or periodontal diseases. If you are a beginner, using it for the first time would be tricky but we have got you.
Here are the steps you need to follow for smooth operation.
1. Fill the water reservoir/ water tank
The first step before turning it On is to fill the water tank with either a portable flosser (in which you fill the water in the small reservoir present in the flosser) or a corded flosser which comes with a water tank.
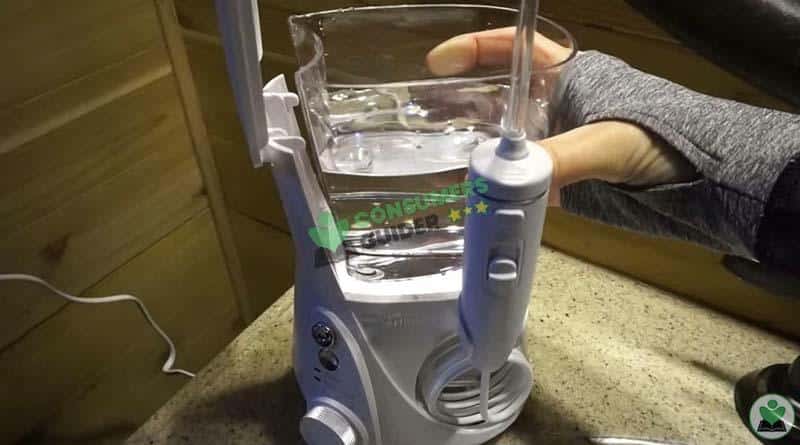
Fill the tank with hot water and rinse it thoroughly after removing it from the container. Now fill it with warm water. Also, some of the water flossers allow you to add mouthwash in it as well (if your dentist allows you to create a sterile environment).
IMPORTANT TIP: We would recommend you to not use salty water as it will block the flosser pipe.
2. Select the Right Nozzle
After that, selecting the right nozzle for your teeth is highly important and it depends upon your teeth’s condition (braces, sensitive gums or for regular usage). A manual of it will also guide you about the tips in detail.
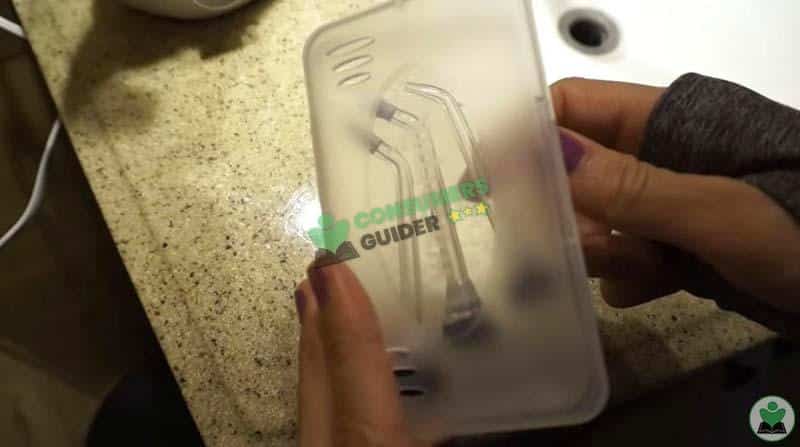
In our opinion, a regular default nozzle (which every water flosser comes with) would suffice to use on a daily basis. Anyways, choose the best one according to your needs and preferences at the moment (orthodontic tip, for plaque or others).
3. Fix the Tip in the Handle Properly
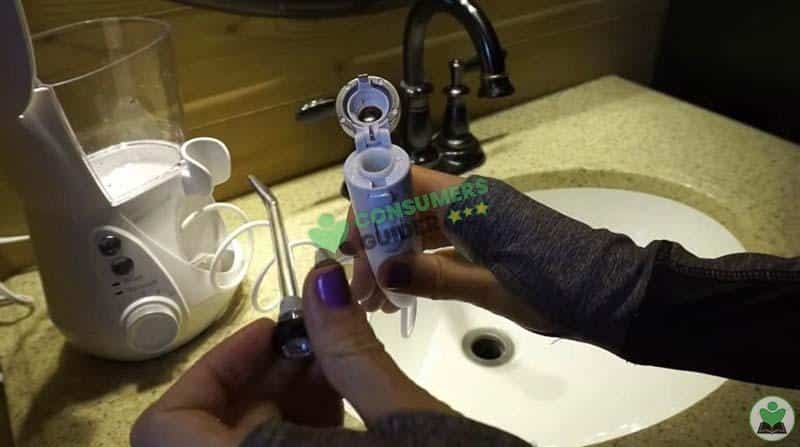
After you have chosen the right tip for your teeth, the next step is to fix it in the handle of the flosser until it makes a “click” sound (by pressing it inwards or twisting it).

4. Adjust the Pressure Setting
Now comes the important step, adjust the pressure settings before starting it. Using it on a low or number 1 setting would do no good if you want to remove the plaque and debris from teeth.
We would recommend you to set the setting at 3 or 4 (not too slow nor too fast).
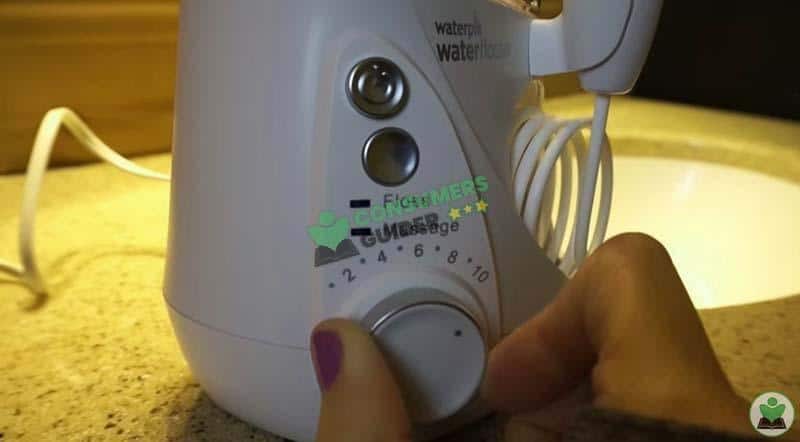
However, you can adjust the pressure settings according to your preferences by setting it one by one at every level and check the pressure by applying it on your gums; this way you will be able to know the exact water pressure you need.
For sensitive gums, we would recommend you to opt for number 2 setting.
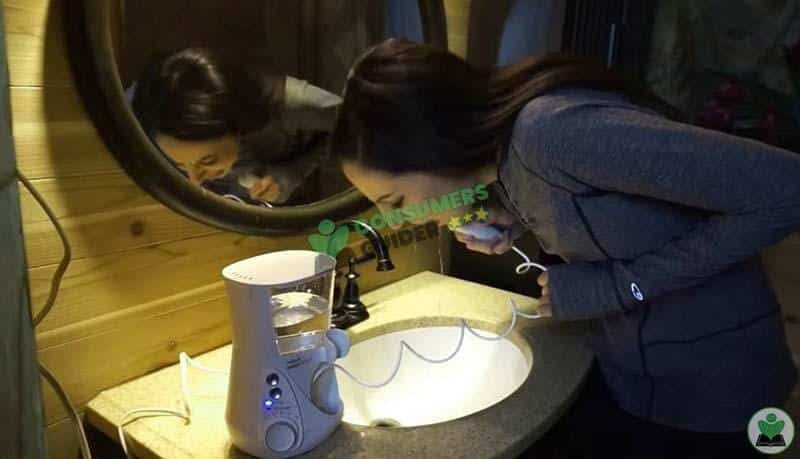
5. Turn On the Machine
Now after you are done with the adjustments, turn it On. For beginners, we would recommend to start using it from the low pressure and then getting towards high pressure once you get accustomed to the flosser.
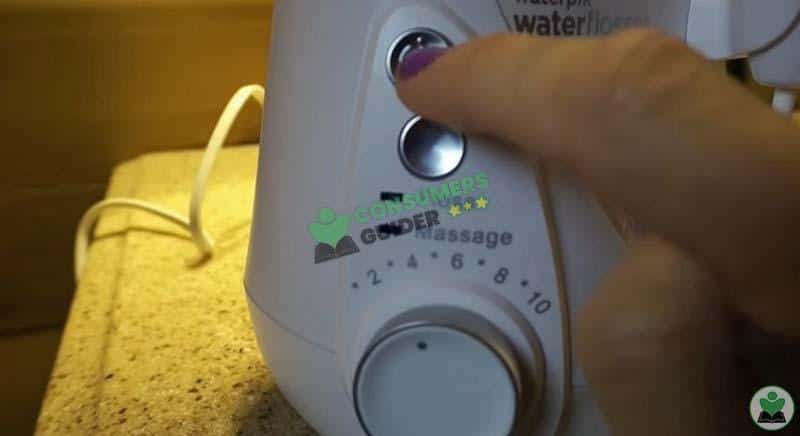
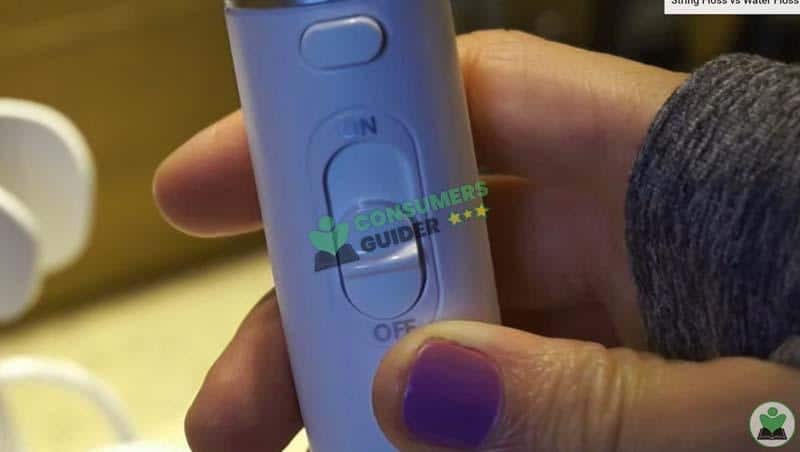
Just make sure the pressure you are using makes you comfortable.
6. Follow the Gum Line Gently
Now that you know what water pressure is suitable for your needs, start using it from the gum line and gently go towards the tooth area. Make sure to not touch the tip with gums and teeth and gently move it towards the inside of the teeth.
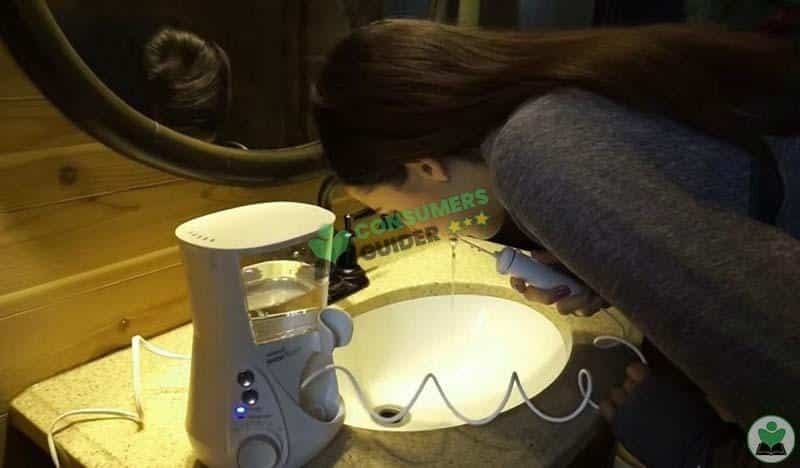
However, it depends upon your personal choice whether you want to start it from inside teeth or from the gum line but make sure to be gentle and not touch the surface.
IMPORTANT NOTE: First place the tip near the mouth and then turn On the flosser.
7. Empty the Tank and Clean it
After flossing your teeth thoroughly, empty the reservoir otherwise bacteria will grow in stale water. Make sure to dry the container before placing it on the counter. And, that’s it.
Can You Put Mouthwash in a Water Flosser?
Yes! You can, but in those who are safe for it (units have mentioned if they are suitable for mouthwash or not). On a side note, add 1:1 of water and mouthwash in the water tank as it would be safer for the unit.
However, the water flossers of Waterpik (a famous brand which most people consider the water flosser) are safe to add mouthwashes in.
You may like to read: StriVectin NecK Cream Reports
FAQs
Is a water flosser and waterpik the same thing?
Technically No! Waterpik is the most popular brand which makes the best water flossers in the market. People call it a water flosser instead of a brand.
Can a water flosser get rid of plaque?
Yes! According to tests and research, water flossers can easily remove the plaque from hard-to-reach areas.
How to use a water flosser for teeth?
Start using the water flosser from gums towards the teeth so the debris and remains of food particles are cleaned effectively.
It is best to use a water flosser before brushing your teeth as the brushing would be more effective after flossing.
Conclusion
That would be all about how to use a water flosser. Flossing your teeth regularly enhances your dental health and prevents your gums and teeth from getting plagued. Make sure to floss your teeth before brushing for efficient cleansing.
The most important factors to consider when using a water flosser is the nozzle type and the pressure setting. Also, make sure to clean and dry the water reservoir after using it. Still, if you are having any trouble regarding using a water flosser, feel free to ask us.

