Now that you have purchased your desired above ground pool, the nest question is how you are going to install it? Either by seeking manufacturer’s help and paying extra bucks or install it by yourself?
Doing it by yourself is a good option as installing the above ground pool is not so difficult to do. Furthermore, every pool comes with the installation guide as well so why spend a hefty amount of money on installation?
That’s why we are here to guide you about the easy steps for installing your above ground pool. For that, you must know some basic factors to consider before installing your above ground pool. So, let’s dive in.
Important Considerations Before Installing the Above Ground Pool
A lot of beginners and newbies when first installing their above ground pools ignored the important prerequisite factors to consider and then later on suffered alone.
That’s why we want to guide you in detail. Here are the important considerations.
- Choose the location where you are going to install your above ground pool wisely.
- The pool should be closer to the garden hose so one can fill and drain the pool easily.
- The drainage and dumping plan should be decided before installation and make sure the dumping water is directed towards the drainage system of the house.
- The ground shouldn’t be uneven and if that’s the case, then make sure to level it before installation. (the even and leveled ground makes the whole installation process much easier than uneven ground).
- It would be best to install your above ground pool where there are no hanging trees.
- Check the electricity lines and your city regulations with respect to above ground pools.
Step-by-Step Guide for Installation
Before we jump to the main process of installation, you must know what type of equipment you need to install the above ground pool.
Most importantly, if you are installing the above ground pool for the first time, then this guide would be a great help for you.
On a side note, you don’t need to purchase the equipment and it would be best to rent them out for one day.
Furthermore, Installing the inflatable pools doesn’t require any help and assistance as one just needs to inflate the pool and place it on the level ground after placing the pool sheet.
And, if you intend to install the above ground pool permanently, then it requires professional help and one can’t do it by oneself.
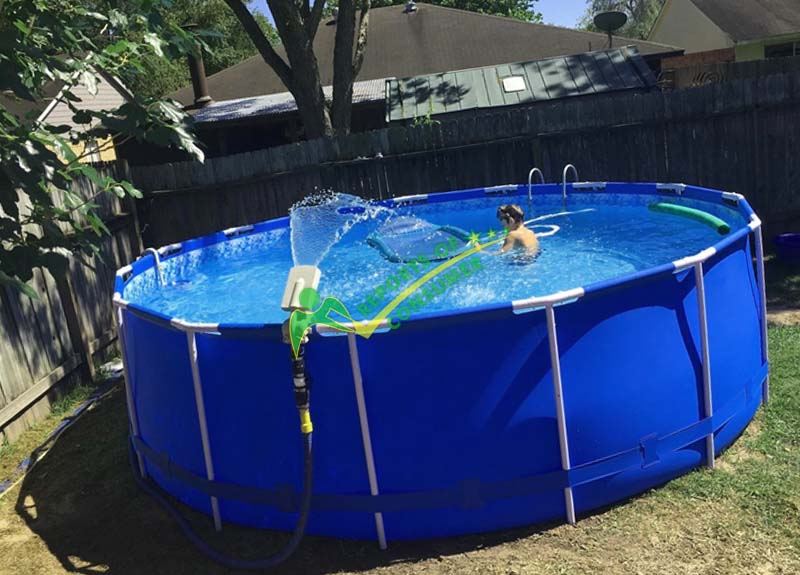
Materials required
- Sod cutter.
- Vibrating plate (200 pounds weight is recommended).
- Manual compactor.
- Rake.
- A rotating laser level.
- Wrench.
- Screwdriver or power drill.
- Compact sand and stone dust (must be free from any physical contamination). Make sure you get high-quality sand.
Now that you know the tools required for the installation process, now you just need a bunch of your friends and the right time to start the process.
NOTE: The size of your pool decides how much assistance you need with you; bigger the size, longer the time taken to install it.
Step 1: Level the ground
Leveling the ground is the most crucial step to be taken seriously otherwise the pool won’t be installed at a stable position.
Now for that, first gather all the tools and the pool parts nearby and start with finding the center point (where you want your pool to be installed).
Also remember, before starting installing the pool, make sure to go through the manufacturer’s instructions and clearance issues (The pool should be 3 or 4 inches away from the water pump or pool equipment).
- Before you level the ground, you should know about the size of your pool so you can make the ground accordingly. Divide the pool size (diameter) by two and then add 12 inches (1 foot). The answer would be your pool radius.
- Now from the center location measure the length of the radius (as per the calculation) and with the help of any coloring spray, draw the boundary.
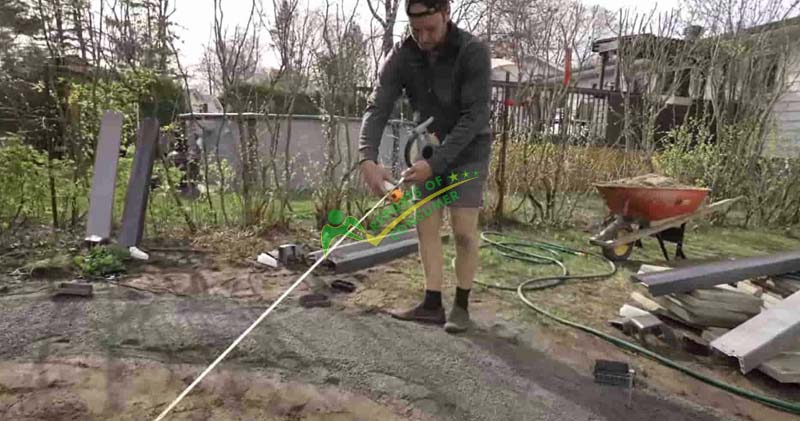
- Now that you have outlined the boundary where you will be installing the above ground pool, the next step is to cut the upper layer of the soil (sod) with the sod cutter by making sure the sod cutter runs only inside the parameter. The outline should be accurate as you will be installing the pool rail there.
- Now check the level of the ground with the help of rotating laser level.
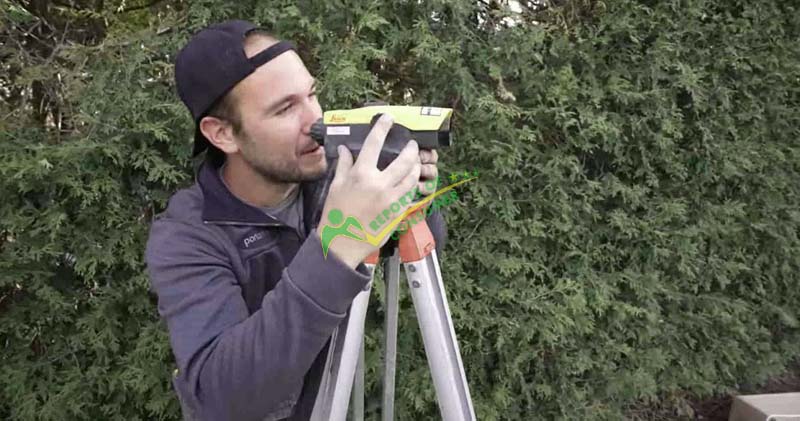
ADDITIONAL NOTE: The material of above ground pools is not designed to install them in the ground but on the ground so leveling the surface must be done properly with utmost care.
- IF the ground is leveled then move to the next step and if not, then dig another one inch and level it again.
Step 2: Make pool base
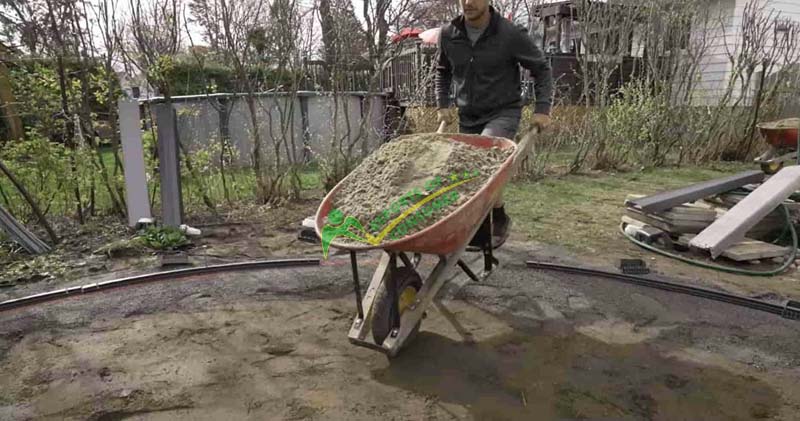
After leveling the ground, spread the compacted sand on the sod free soil and make sure you spread the compacted sand and dust inside the parameter.
With the help of a rake and manual compactor make sure to spread it evenly. Then use the vibrating plate to compact the sand well.
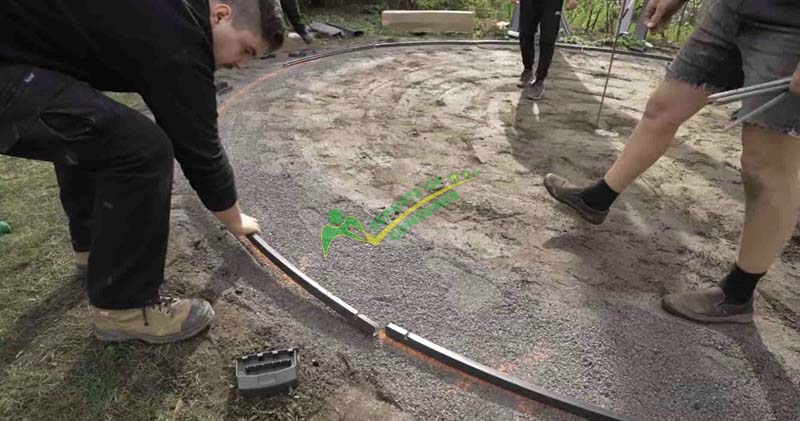
Again check the level with the help of a rotating laser level and if you find any uneven surface then use a vibrating plate to even it. Adding compacted sand helps to prevent the ground surface of the pool when pressure is added (while swimming or playing in it).
Now again label the boundary on the compacted sand from the center point just like we have done when leveling the land.
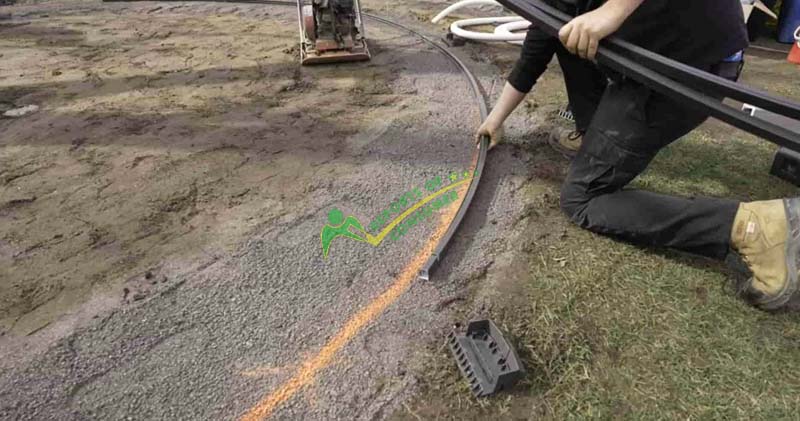
PRO TIP: Make sure you outline the boundary with the spray paint very carefully as the next step would be to install the walls and rails on it.
Skimmer and drainage installation
This step is for those who want to install the bottom drain area. Dig 12 inches in diameter and 8 inches of hole.
Start digging it from the hole to all the way you want to the future location of your skimmer.
It is recommended that the distance between pool and plumbing equipment should not be more than 4 inches.
Step 3: Install the pool Wall
Now place the rails on the marked boundary which will shape the base of the pool. Now start putting the bottom racks of the pool on the marked area and make sure to leave at least half inch of clearance space between two racks.
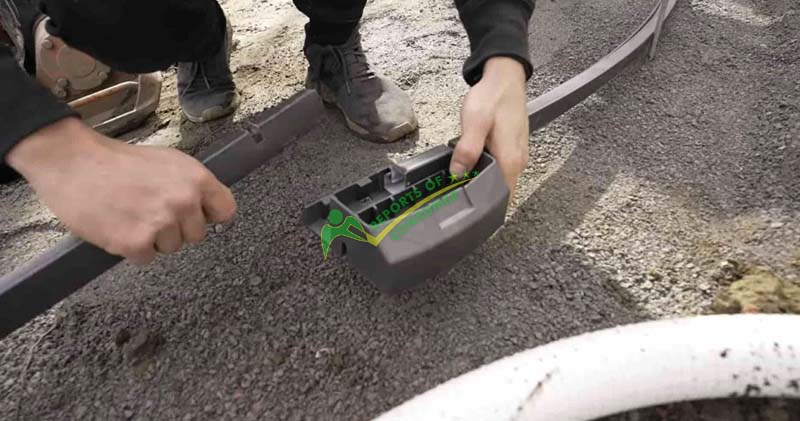
The one section plate will hold two rack ends and you need to pay extra attention when placing the ends on the section plate. Also, make sure the pre-drilled holes of the racks are placed perfectly aligned to one another.
After placing the racks on the boundary, make sure the shape of the circle is perfectly made by measuring it with the inches-tape just like we have done on the compacted sand and adjust accordingly.
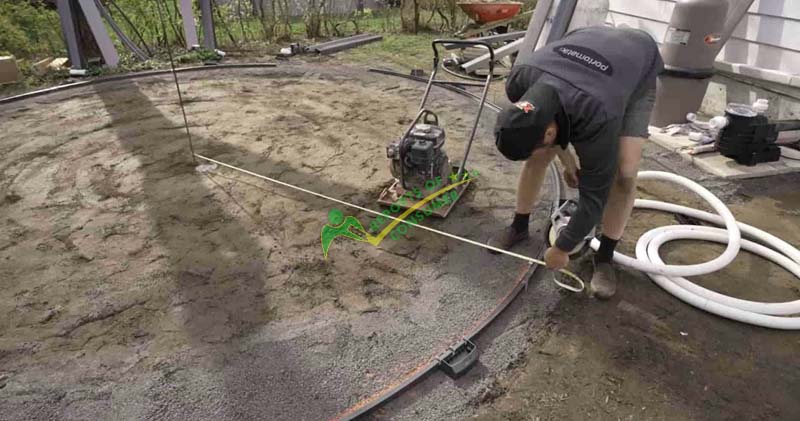
Then again, put the compacted sand inside this parameter and this time you need a large amount of sand to prepare the pool bottom.
IMPORTANT NOTE: You can skip this step and can put it after installing the pool wall.
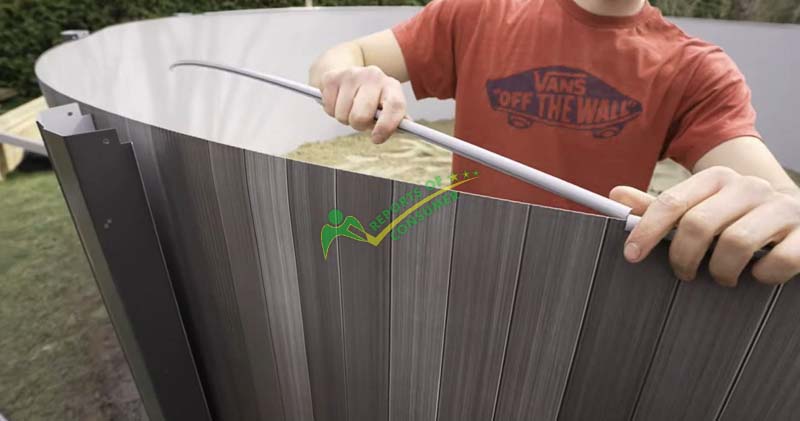
After that, unroll the pool wall with the help of your friends and identify the connector before putting it on the tracks. After that, unroll the wall carefully and make sure it is unrolling on the track. You can use a wrench to make sure walls are going in place.
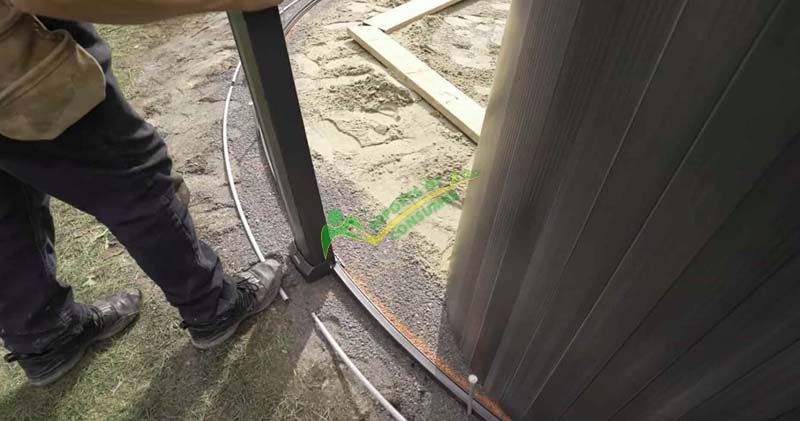
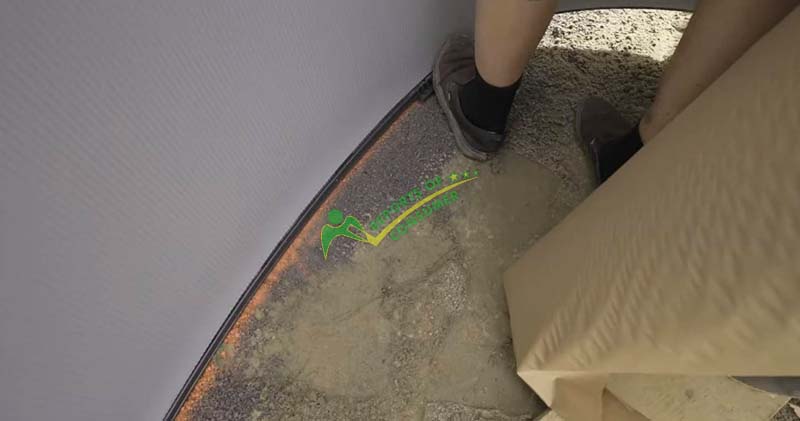
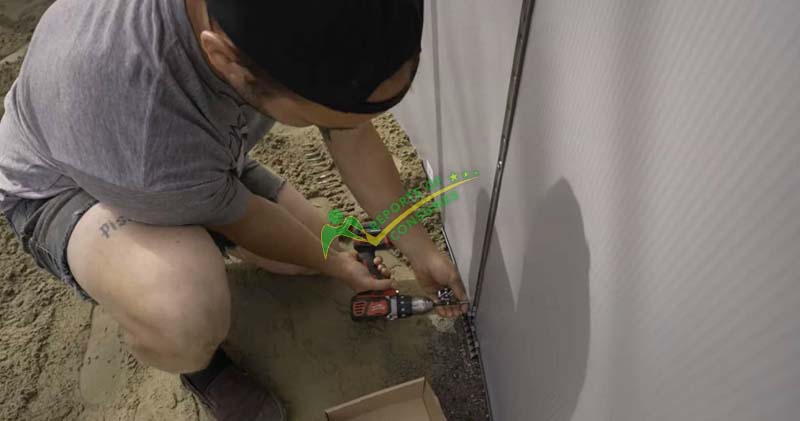
Once you have made sure the pool wall is at the right place, make sure the pre-drilled holes of the wall are properly aligned. And, at last, screw the pool wall tightly.
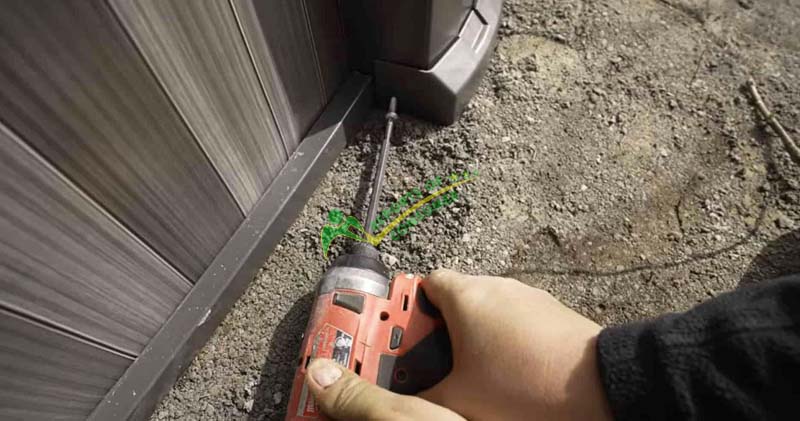
PRO TIP: When screwing the pool wall, make sure the screw head is inside the pool and the nuts should be at the outer side.
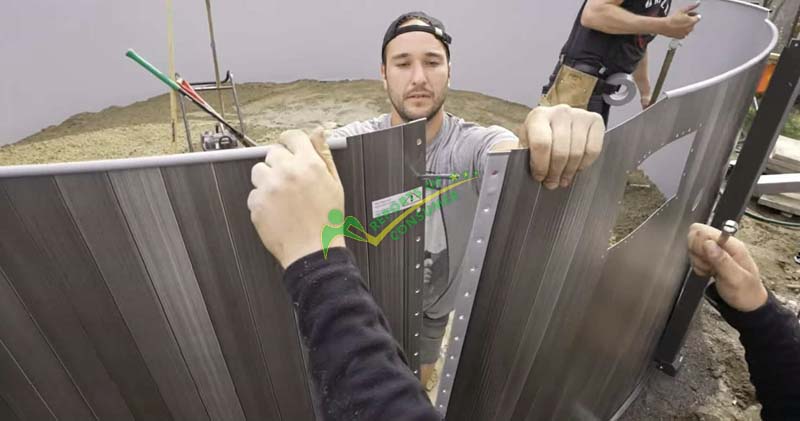
Also, it would be best to not use the power drill as there are chances that the wall might get cracked.
Now that the pool wall is installed, the next step is to again measure the diameter to make sure you have installed it the right way or not and if any changes needed, set the wall accordingly.
Step 4: Pool liner Installation
There is another important tip to consider after installing the pool wall is to use the adhesive tape on the pool wall joints for safety purposes and it will protect the liner from getting damaged as well.
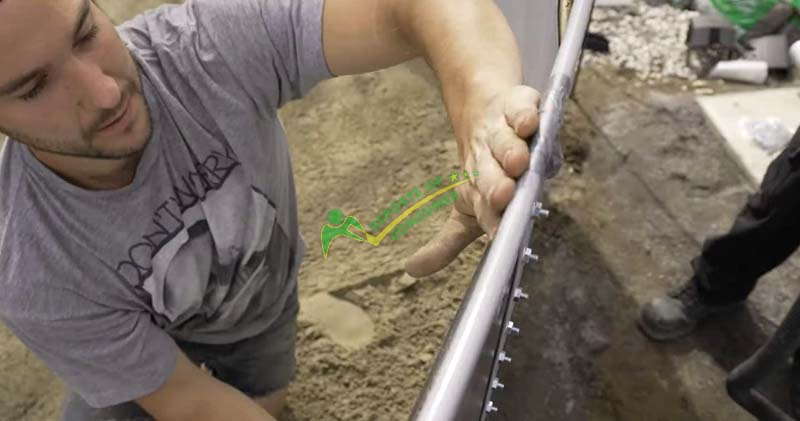
Now here comes the important step to not forget; spread the compacted sand at the pool wall and make it like a slope (it will help the liner from getting any holes and leakages when pressure applied on the steep surface).
TIP: Spread at least 1 inch of compacted sand everywhere on the surface and 3-4 inches at the pool wall to make a slope.
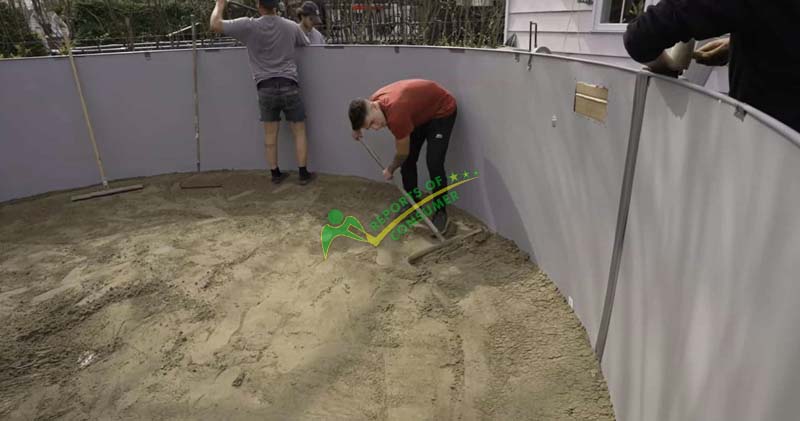
Again use the vibrating plate and make sure the ground is leveled. There are chances you might need to run the vibrating plate multiple times on the surface to make it even.
After that, place the folded pool liner on the center of the ground and start unfolding it from there. It will help you to install it easily and we would recommend you to do it with your friends (at least 2 people).
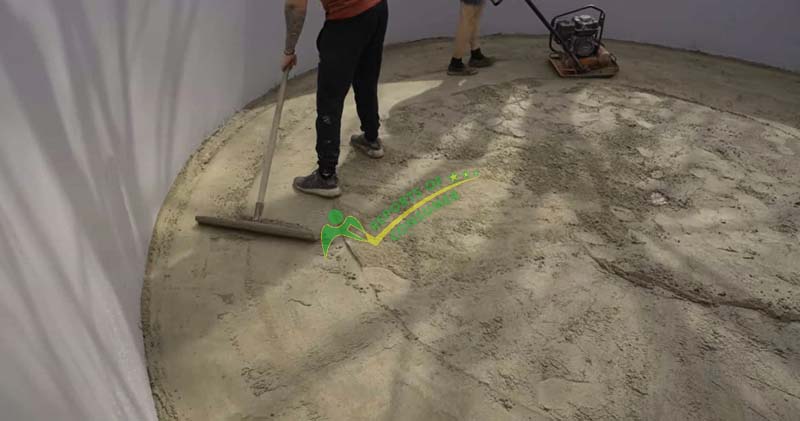
SIDE NOTE: If your pool comes with a ground sheet which is to be placed before installing the liner, then make sure you spread it evenly on the ground and remove the wrinkles before installing the liner.
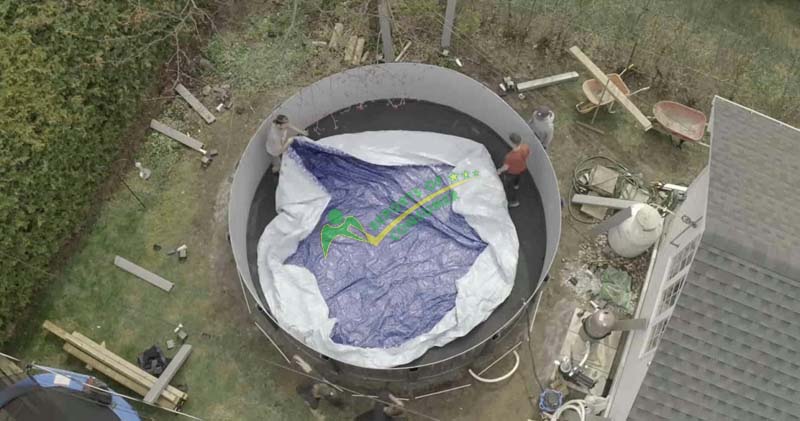
After placing the pool liner in the pool and clipping it outwards the track and making sure it is locked securely; Wrinkle free and fully adjusted.
After that, now you need to install the drain ring in the center of the pool.
IMPORTANT NOTE: Although the plumbing equipment varies from pool to pool and brand to brand, the most important part is the skimmer and the return system which most of the pools need (bigger ones specially).
After installing the drain hole ring, align the gasket on it and screw it tightly with the help of a screwdriver. Cut the pool liner from inside and place the drain grid on top of it and fix it.
Step 5: Fix the top plates
The second last step is to screw the plates on uprights and bottoms to make sure the pool wall is properly secured.
And, place the top plates (will come with the package) on every upright and screw it tightly as well.
Step 7: Fill the pool
Now start filling the pool with the water and remove the wrinkles side by side.
When filling the pool with the water, double check the walls and everything if they are in the right place.
Step 8: Installation of Plumbing equipment (Vary from pool to pool)
At last, install the top caps on every upright and when the water rises at at least 10 inches from the ground, install the skimmer and water inlet.
Just like you installed the drain ring, install the gasket on the skimmer as well which will be placed on the pool wall and through the pool wall. Then, install the drain and bottom pipes in the skimmer.
Connect one pipe from the skimmer to the drainage system. Similarly, connect another pipe with the other end of the skimmer which will direct towards the water pump.
Another pipe from the pump to the filter and from filter to the water intel (this will make the whole circulation system of the pool).
However, things doesn’t stop here, you also need to winterize and cover your pool properly when winter in approaching. So, make sure to do it properly as well when the time approaches.
Common Above Ground Pool Installation Mistakes
A lot of users often go through a lot of problems like: pools get disassembled only after a few weeks, pool walls become loose and so on.
That’s because a lot of people make common mistakes which they think isn’t a big deal. Here are the most common mistakes when installing the above ground pool;
- The land or ground is not evenly leveled.
- The compacted sand is not leveled or even.
- Using too much sand can also have a negative impact on the pool (uneven surface).
- Not comparing the sand at all.
- Not ensuring the pool walls have enough support to stand alone.
However, if you follow the above mentioned steps as it is, you wouldn’t face any problem at all.
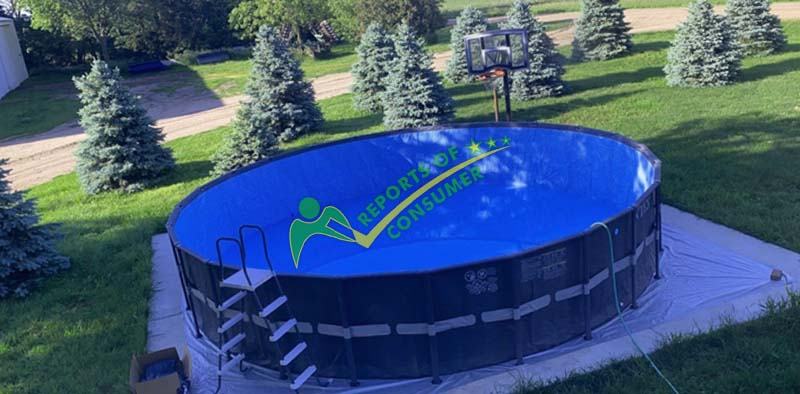
How long does it take to install an Above Ground Pool?
basically it depends upon the pool size but on an average, it takes only 4-5 hours in assembling the above ground pool. For inflatable pools, it takes much less time; around 2 to 3 hours maximum (depending upon the size as well).
FAQs
What causes the high pH in the pool?
If your pool water doesn’t get cleaned frequently, there are chances of algae growth which can increase the pH of the pool. So, always make sure to clean your Above Ground Pool properly from time to time.
Also, heating the water with the heater can also increase the alkalinity of the pool water. Addition of high amount of chlorine as well. You can follow some simple steps to Lower the Alkalinity of the Pool easily.
And just in case, if the pH become too low, then you can check this guide on increasing the pH and Alkalinity of pool water.
What are the important tips to consider when installing the pool?
- Level the ground properly.
- Measure and label the diameter of the pool on the ground before installation.
- Make sure the compacted sand is of high-quality.
- The site where you are going to install the pool should be near the drainage system of your house.
- Take care while handling the walls and screws in order to avoid cracks and punctures. And if you ever get some, you can fix the leaks as well. But prevention in better than cure.
Wrapping Up
We hope this guide has been a great help for you for installing your above ground pool.
The most important step to consider when installing is to make sure your desired land is even and leveled; otherwise, all your hard work would be in vain.
Also, make sure the pool walls are secured tightly and are placed in the right tracks. Nonetheless, installing a pool by yourself isn’t a big deal, you just need a bunch of friends and a sunny day.
And, if you are facing any issue while installing your above ground pool, you can ask us.


